Installing split system air conditioning can greatly enhance indoor comfort. Proper installation ensures efficient cooling and heating, creating a more pleasant living environment. For those seeking a cost-effective solution without compromising on performance, split systems provide an excellent option.
Selecting the right location for both the indoor and outdoor units is crucial. A well-chosen spot can maximize airflow and energy efficiency. Ensuring the units are securely mounted and correctly positioned can prevent future maintenance issues and extend the lifespan of the system.
At Tri-County Mechanical and Electrical our certified technicians have the expertise to handle complex electrical components and refrigerant management, ensuring the system operates safely and effectively. Investing in professional installation not only provides peace of mind but also enhances the overall performance of the split system.
Understanding Split System Air Conditioning
Split system air conditioning units offer efficient cooling and heating solutions by separating the components into indoor and outdoor units. This design provides flexibility and better energy efficiency compared to traditional air conditioning systems.
Components and Functionality
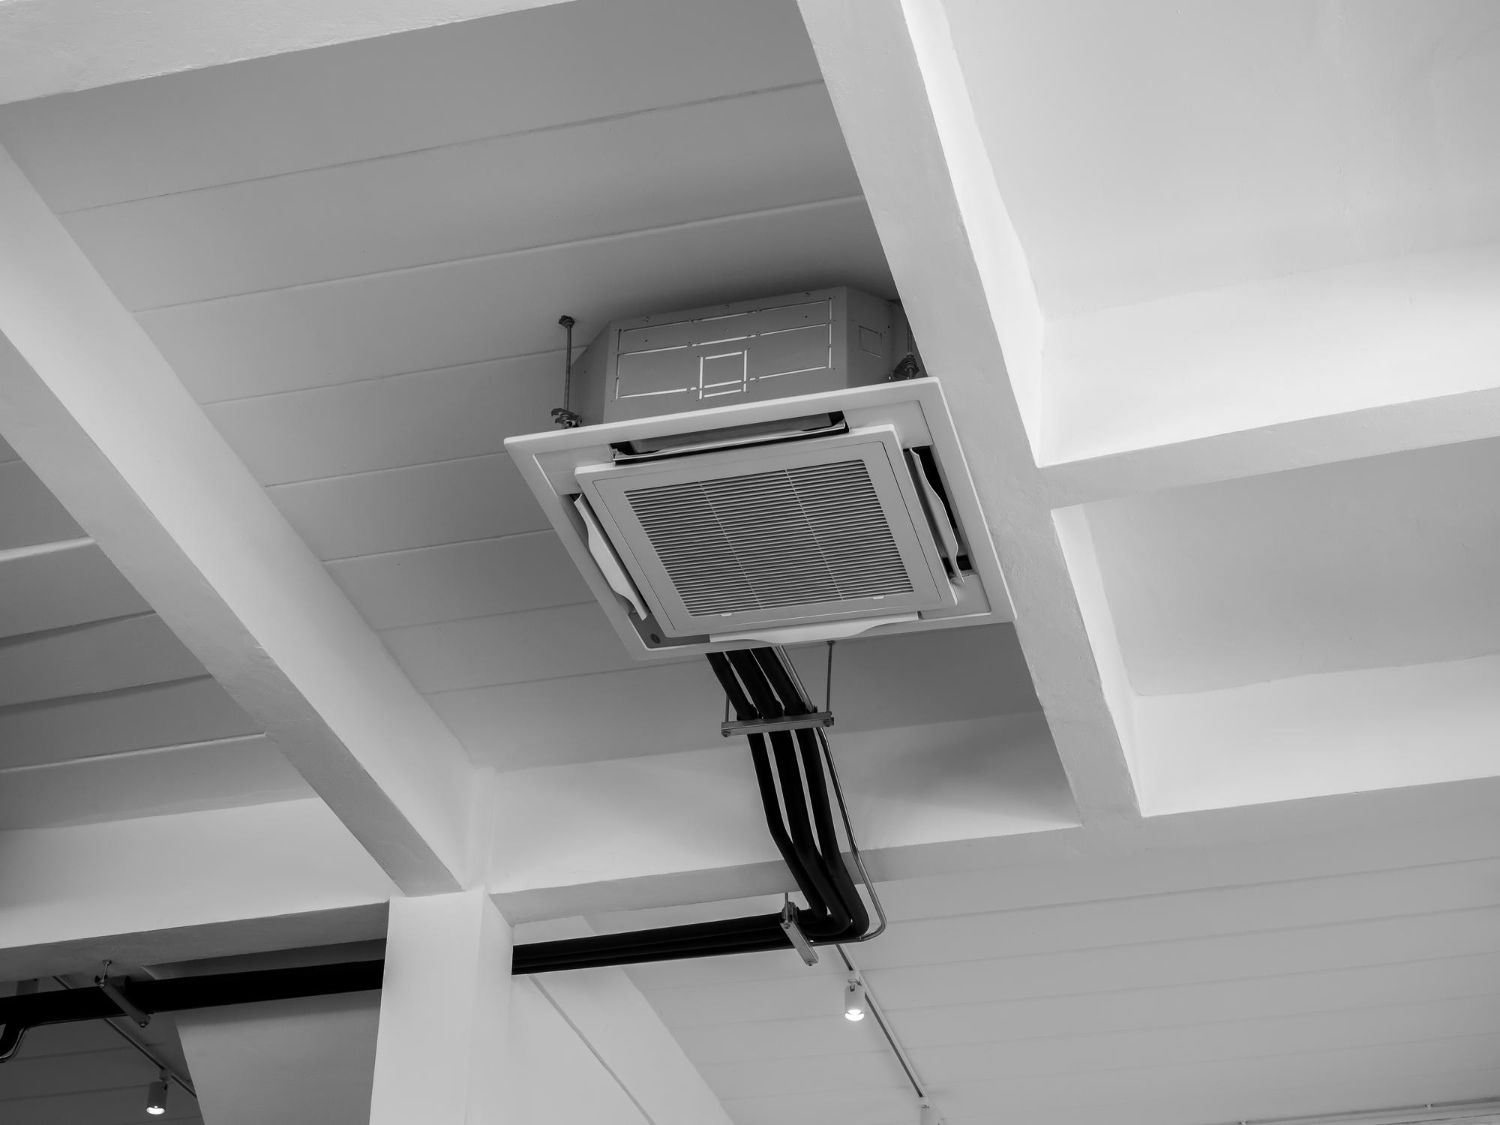
A split system air conditioner consists of two main units: an indoor unit and an outdoor unit.
- The indoor unit contains the evaporator coil and blower fan.
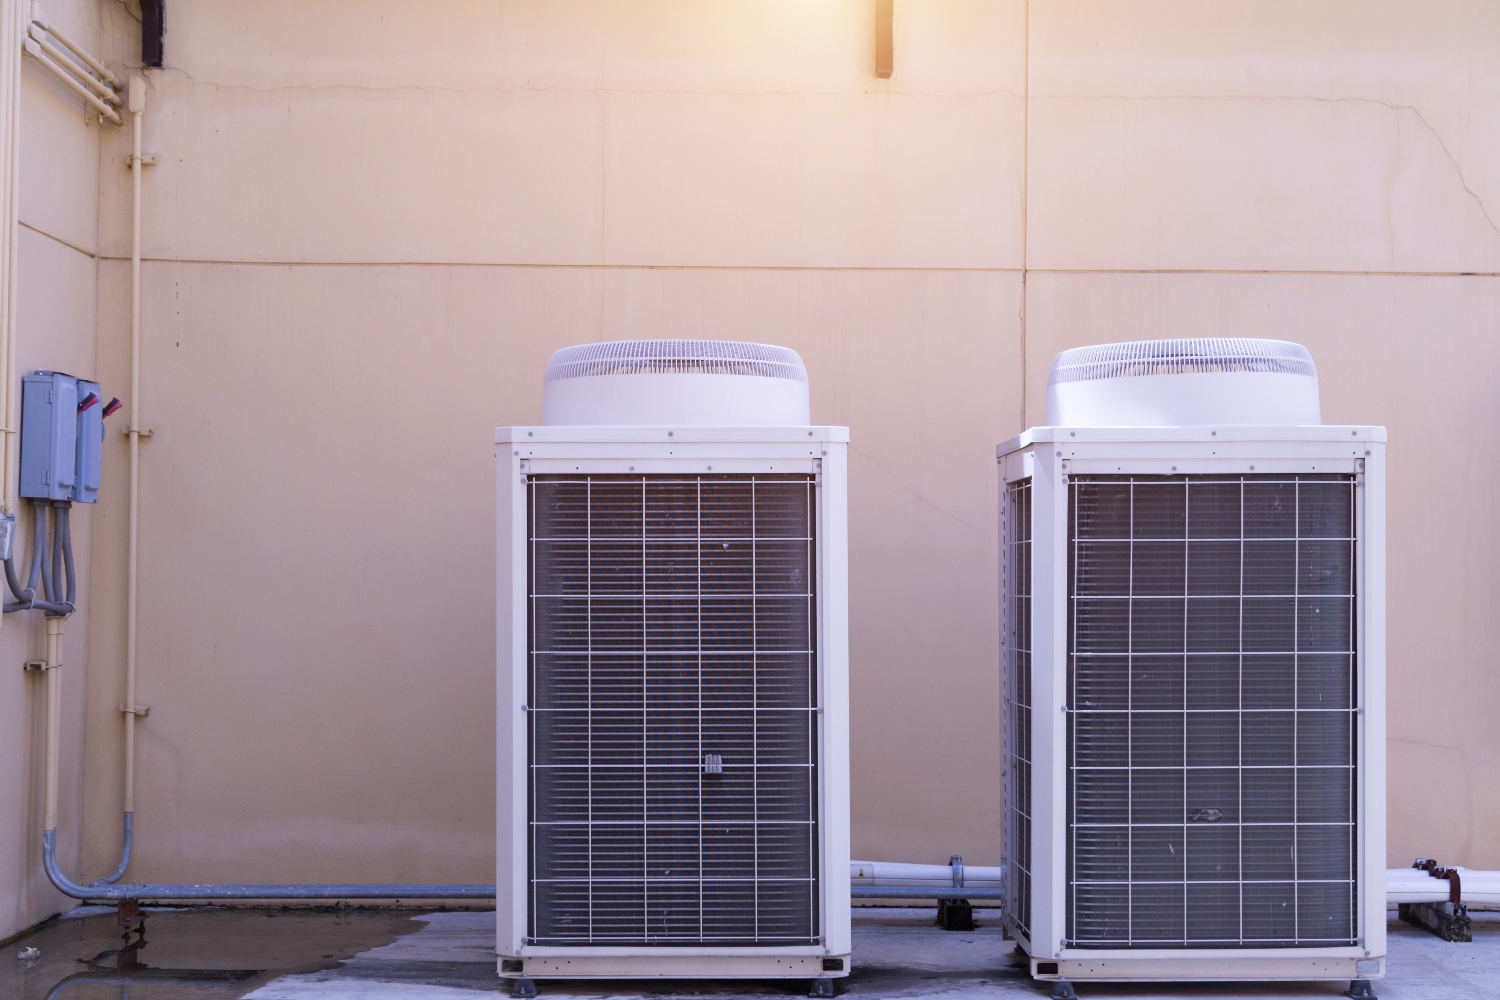
- The outdoor unit houses the compressor and condenser coil.
These units are connected by refrigerant lines that circulate cooled or heated air. The indoor unit absorbs heat from inside the building and transfers it outside via the refrigerant to the outdoor unit. This process cools the indoor air efficiently, while the outdoor unit expels the absorbed heat.
Key functions include:
- Cooling and heating: Ensures year-round comfort.
- Dehumidifying: Reduces indoor humidity for added comfort.
- Air filtration: Improves indoor air quality.
Types of Split Systems
There are primarily three types of split systems:
- Single-split systems: Ideal for small spaces, these systems consist of one outdoor unit connected to one indoor unit.
- Multi-split systems: Perfect for larger homes, these systems allow multiple indoor units to connect to a single outdoor unit.
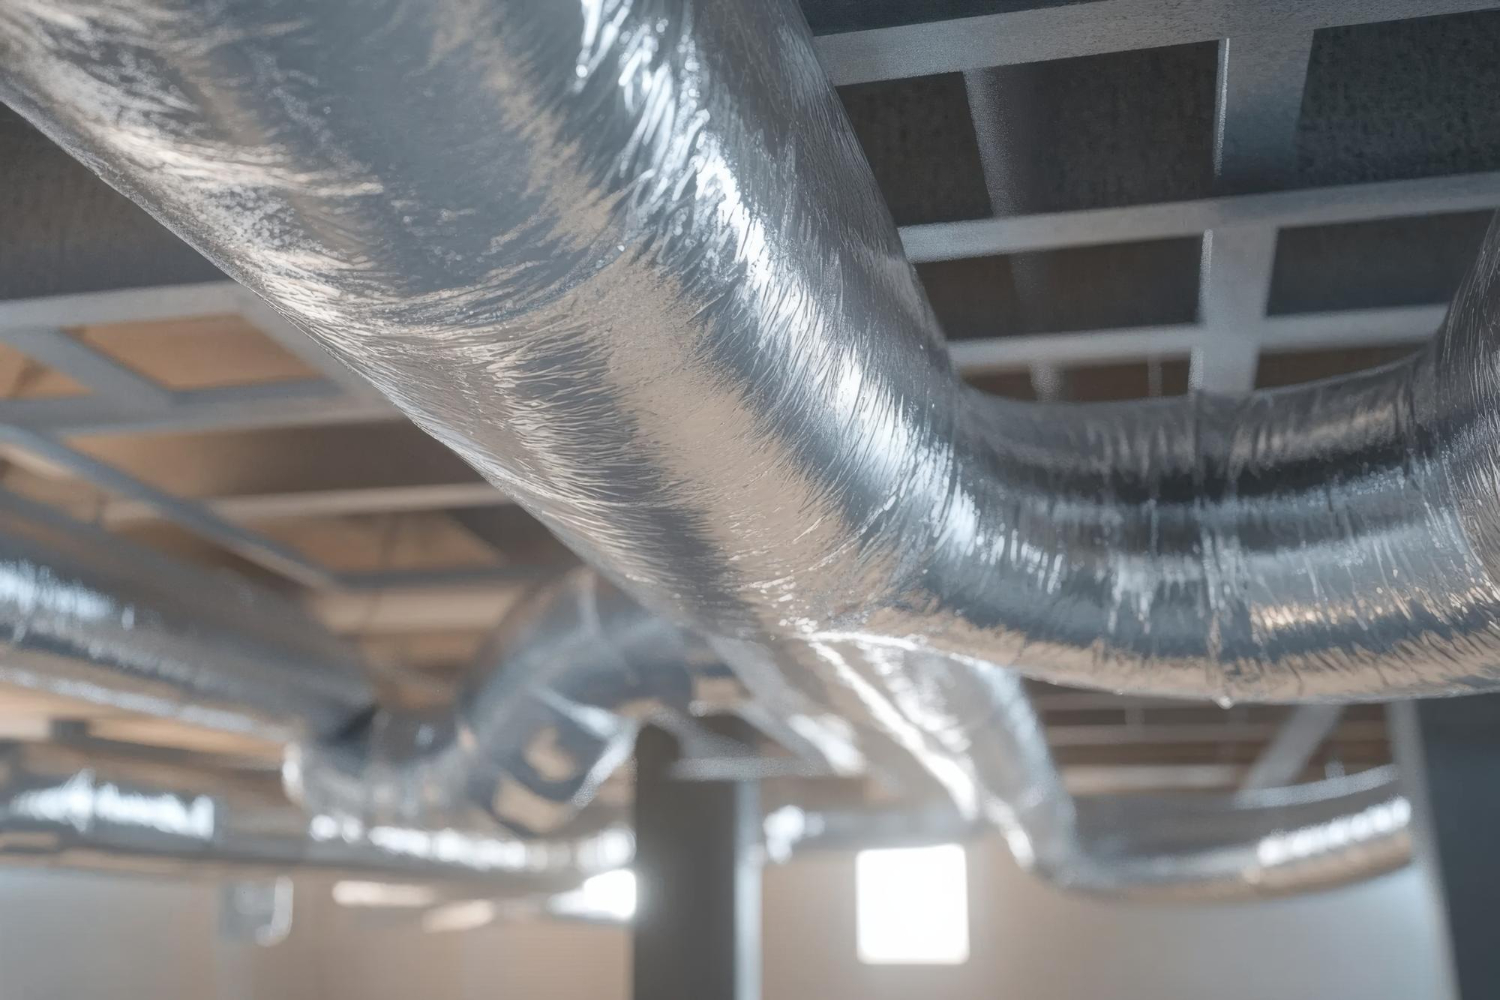
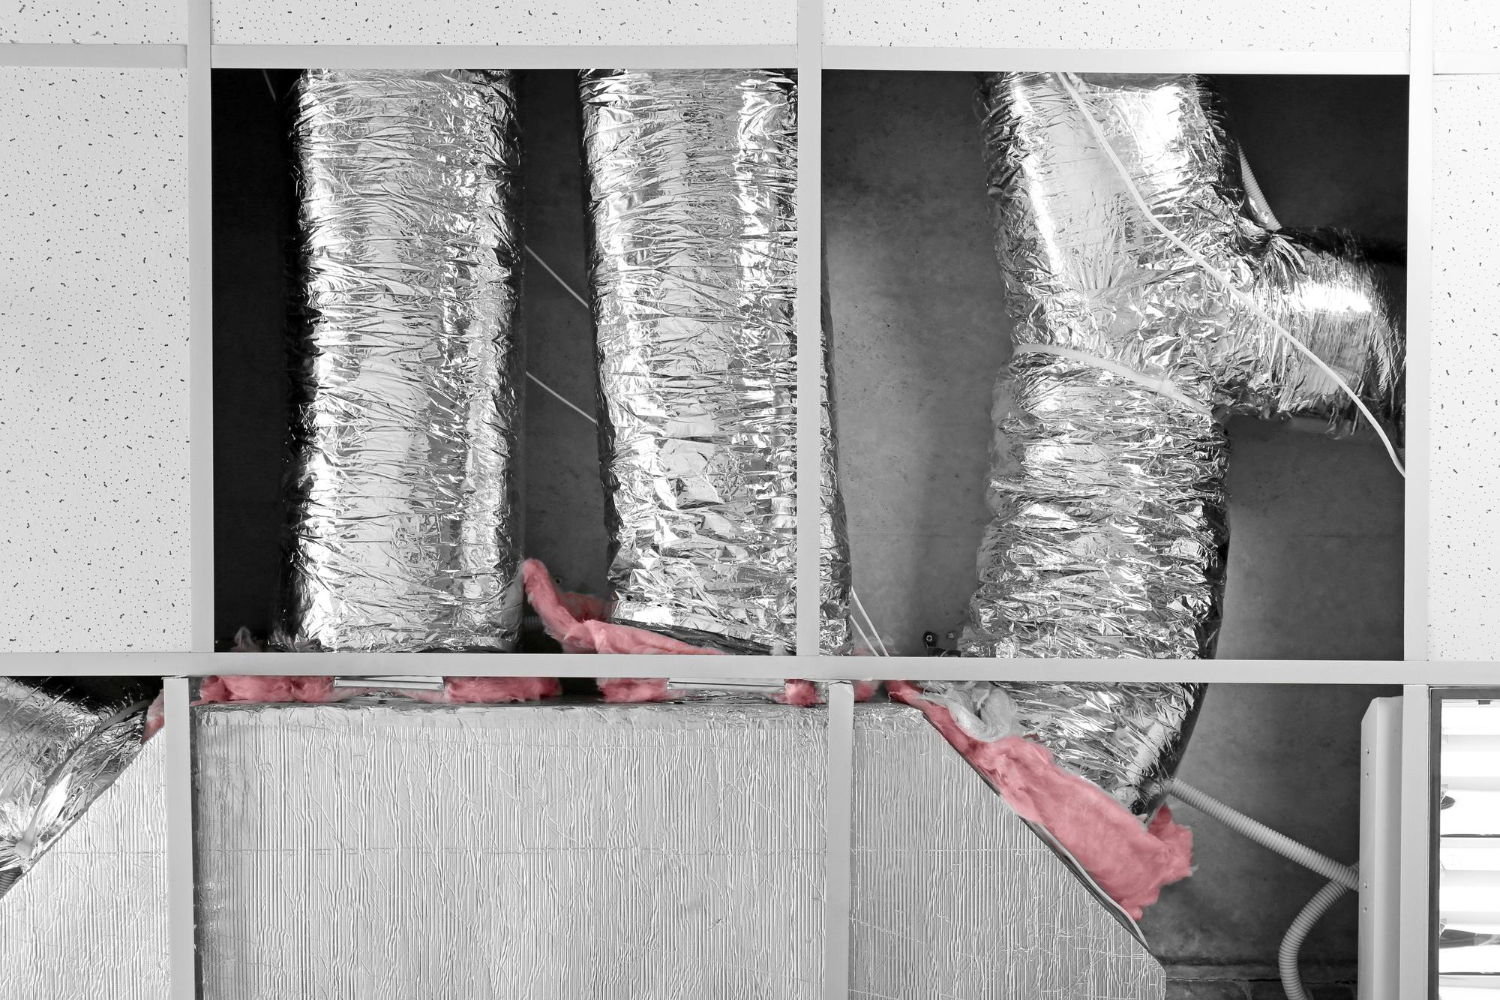
- Ducted split systems: Suitable for whole-building climate control, these systems use ductwork to distribute air throughout the space.
Each type offers unique advantages tailored to different needs. A single-split system is cost-effective and simple to install. A multi-split system offers zoned temperature control without needing separate outdoor units. A ducted system provides a seamless temperature control solution for larger areas or entire buildings.
Pre-Installation Considerations
Before proceeding with the installation of a split system, it's crucial to evaluate both your capacity needs and the optimal location for the indoor and outdoor units. These steps ensure efficiency and effective climate control.
Determining Capacity Needs
Accurately determining the system's capacity is fundamental. Capacity requirements depend on factors such as room size, insulation quality, and the number of windows and doors.
Conducting a heat load calculation is recommended. This calculation considers many variables, including room dimensions, the number of occupants, and the area's general climate. Online calculators or professional consultations can help with this task.
Selecting the Optimal Location
Choosing the right location for the indoor and outdoor units is paramount. For the indoor unit, avoid places with direct sunlight or high humidity. The unit should be installed at a height where air can circulate freely.
The outdoor unit should be placed in a well-ventilated area, away from debris and obstructions. It needs to be on a firm surface, ideally elevated to avoid flooding issues. Clearance around the unit is important to ensure adequate airflow and maintenance access.
Installation Process
Installing a split system involves setting up the indoor and outdoor units and connecting refrigerant lines and electrical systems. Proper installation ensures the system runs efficiently and effectively.
Indoor Unit Installation
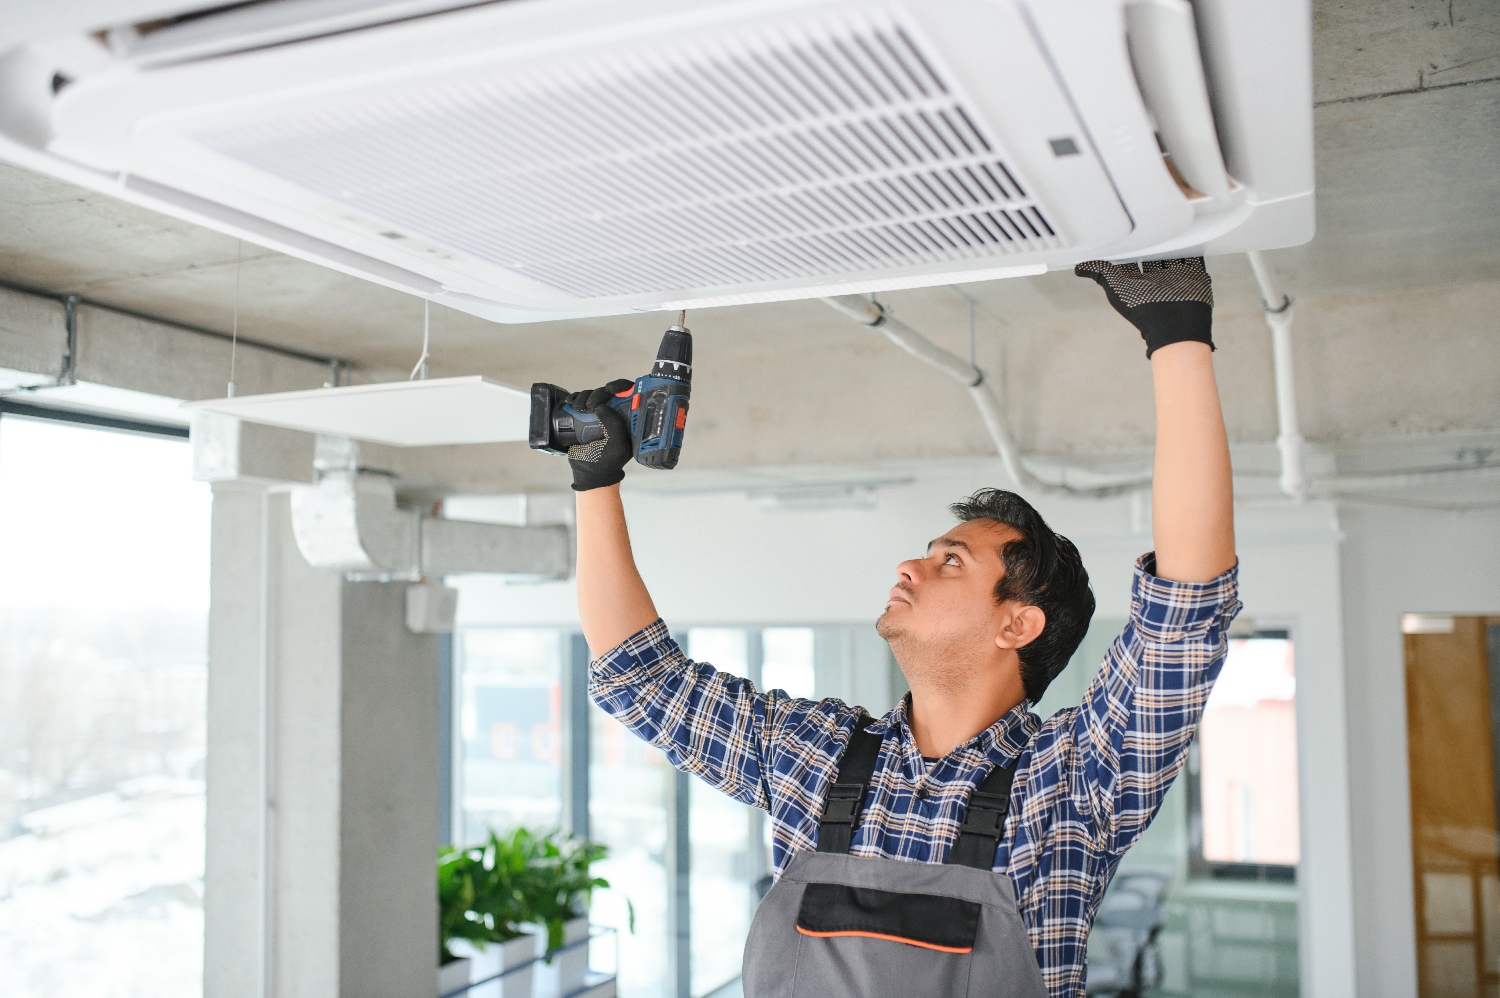
Install the indoor unit on an interior wall away from direct sunlight and heat sources. Ensure the wall is strong enough to support the unit's weight.
Mount the bracket securely using appropriate tools and fasteners. Drill a hole through the wall for the refrigerant lines and electrical wiring.
Hang the indoor unit onto the mounting plate and ensure it is level. Connect the refrigerant lines and drain hose. Secure electrical connections following the manufacturer’s instructions.
Outdoor Unit Installation
Place the outdoor unit on a stable, level surface, ideally on a concrete pad. Ensure good airflow by positioning it away from walls, shrubs, or other obstructions.
Install anti-vibration mounts to reduce noise. Secure the unit in place using appropriate fasteners.
Connect the refrigerant lines to the outdoor unit. Check that all valves are closed before making connections. Finally, make the electrical connections as per the wiring diagram.
Refrigerant Lines and Electrical Connections
Run the refrigerant lines through the hole drilled in the wall, ensuring they are insulated to prevent heat loss. Connect the lines to both the indoor and outdoor units using flaring tools and ensure all connections are tight.
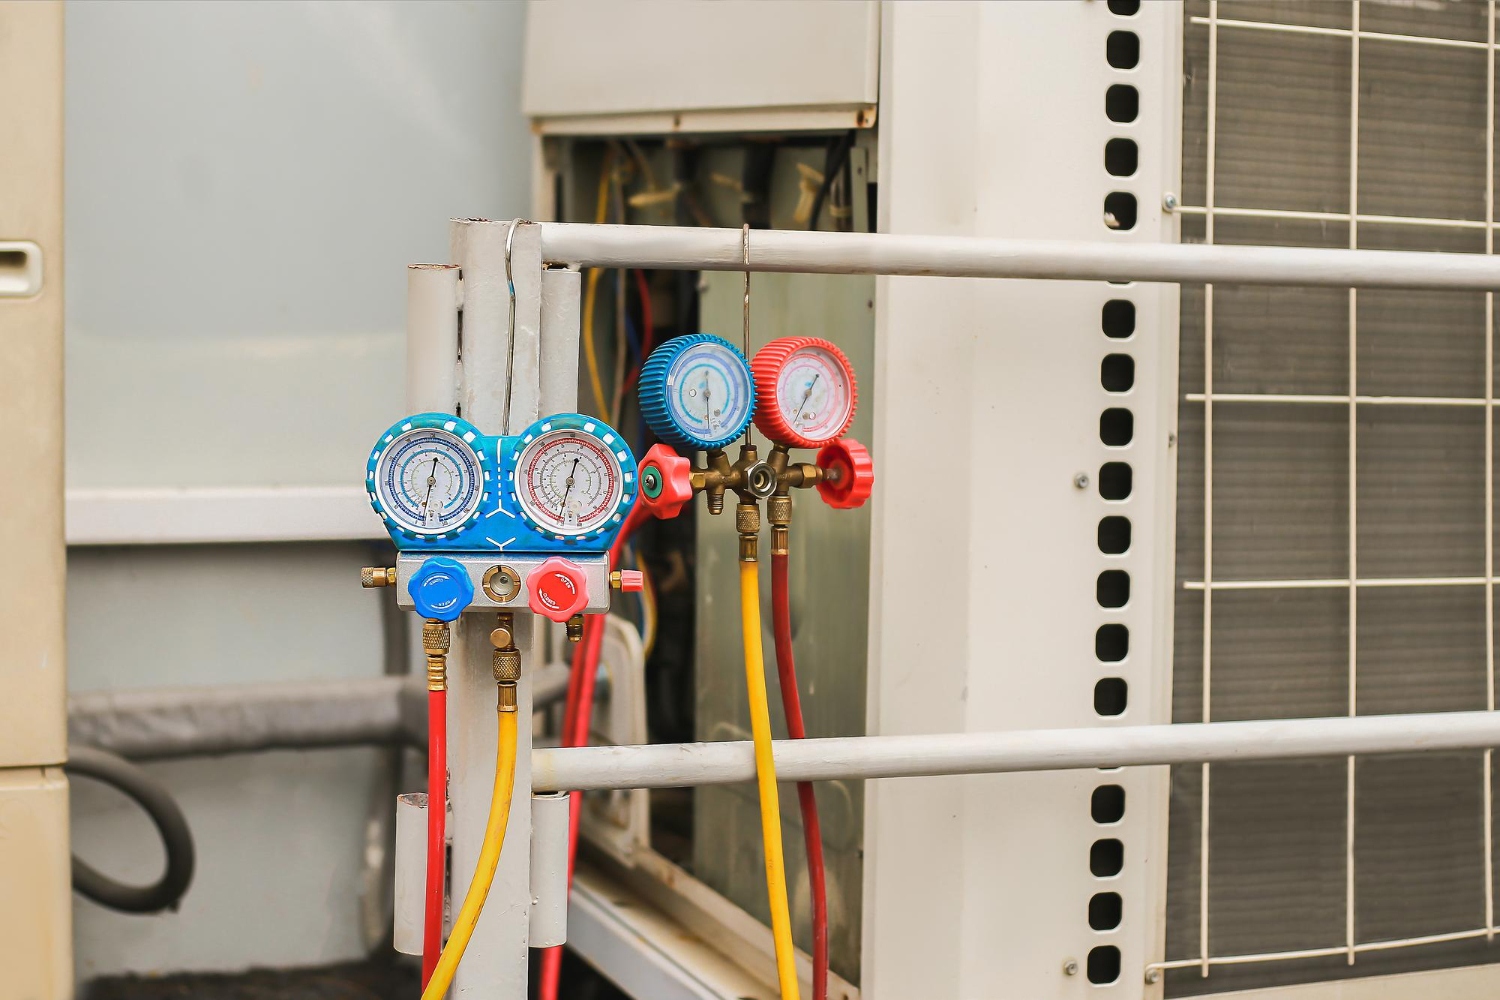
Vacuum the lines to remove any air and moisture. Charge the system with refrigerant according to the manufacturer's specifications.
Connect the electrical wiring, following the wiring diagrams provided. Check that all connections are secure and there are no exposed wires.
Post-Installation Guidelines
It is essential to conduct a thorough system test and establish a maintenance routine to ensure the efficiency and longevity of your split system.
System Testing and Commissioning
After installation of a split system, the installer should ensure that the unit is operating correctly. Check all electrical connections and verify that there are no leaks in the refrigerant lines.
Run the system in different modes (cooling, heating, fan) to confirm proper functionality. Use a thermometer to measure the temperature output and ensure it matches the setpoints.
Calibrate the thermostat and make sure the remote control or wall panel is responding correctly to commands. Document any discrepancies and address them immediately.
Maintenance and Care
Regular split system maintenance is crucial. Change or clean the air filters every 3-6 months to maintain air quality and operational efficiency.
Inspect the outdoor unit for debris, leaves, or other obstructions that could impede airflow. Routine checks should also include examining the indoor unit’s coils and fins for dust or dirt buildup and cleaning them as necessary.
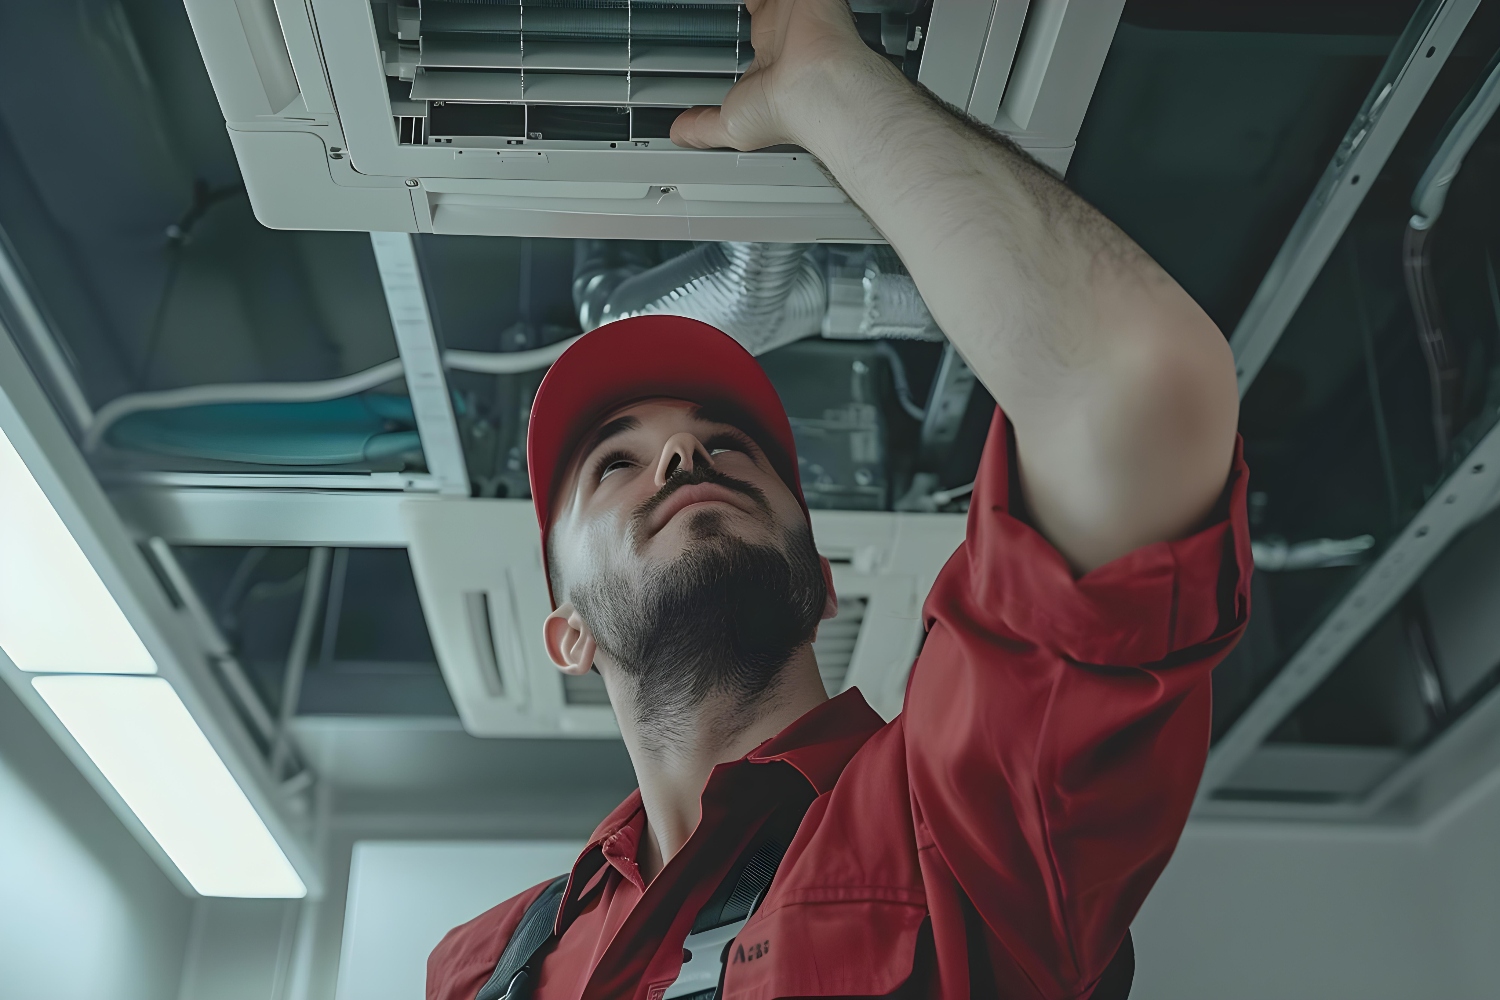
Schedule annual professional servicing to check for any internal issues and to top off refrigerant levels if needed. This proactive care will extend the system’s life and optimize its performance.
The split system experts at Tri-County Mechanical and Electrical, specialize in all aspects of installation and maintenance. Contact us today to find out how we can help with your split system project.





.jpg)
.jpg)

.jpg)
.jpg)


